Imagine a garage floor that looks brand new, resists stains, and is super easy to clean. Sounds amazing, right? But getting that perfect finish can feel like a puzzle, especially when you’re staring at a wall of different epoxy floor kits. It’s tough to know which one is best for your project, your budget, and your skill level. You want a floor that looks great and lasts, but the choices can be overwhelming, and picking the wrong kit can lead to frustration and wasted money.
Don’t worry, we’re here to help! This blog post will guide you through the world of epoxy floor kits. We’ll break down what to look for, what makes one kit better than another, and how to avoid common mistakes. By the time you finish reading, you’ll feel confident choosing the right epoxy floor kit to transform your space. Get ready to discover the secrets to a beautiful, durable floor!
Our Top 5 Epoxy Floor Kit Recommendations at a Glance
Top 5 Epoxy Floor Kit Detailed Reviews
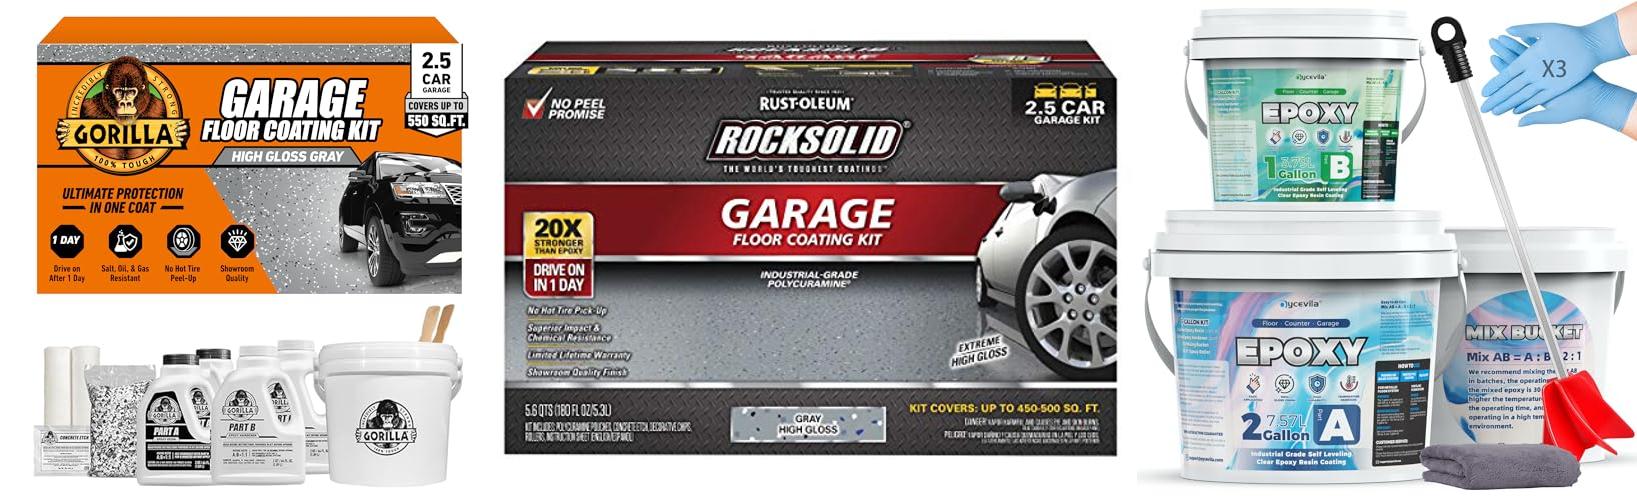
1. Gorilla Epoxy Garage Floor Coating (12 pc) Kit

Rating: 8.9/10
Transform your garage into a showroom with the Gorilla Epoxy Garage Floor Coating Kit. This 12-piece set is designed for a 2.5-car garage, covering up to 550 square feet. It’s made with 100% solids epoxy, which means superior adhesion and incredible durability. You’ll get a high gloss gray finish that looks amazing and protects your floor.
What We Like:
- This kit gives your garage floor ultimate protection in just one coat.
- It’s incredibly durable and resists chemicals, oil, gas, and even hot tire marks.
- You’ll get a beautiful, high-gloss finish that is crack and peel proof.
- It’s low VOC, so it’s better for the air quality in your home.
- The kit includes everything you need for a DIY project: epoxy, flakes, etching solution, and all the tools.
- You can drive on your floor just 24 hours after applying it.
- The instructions are clear, with pictures and videos to help you.
What Could Be Improved:
- Surface preparation, like etching, is crucial and requires careful attention.
- The curing time, while fast, still means you’ll need to plan around being without your garage for a day.
This Gorilla Epoxy kit offers a fantastic way to upgrade your garage floor. It’s a tough, attractive, and easy-to-apply solution for a lasting finish.
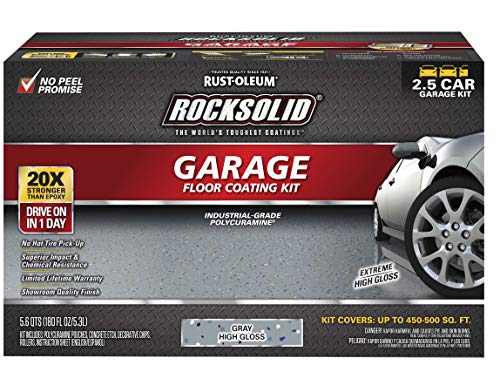
2. Rust-Oleum 293513 RockSolid Polycuramine Garage Floor Coating
Rating: 8.9/10
Tired of a dull, stained garage floor? The Rust-Oleum 293513 RockSolid Polycuramine Garage Floor Coating in High Gloss Gray is here to transform your concrete surfaces. This tough coating isn’t just for garages; it works wonders in workshops, basements, and even family rooms. Get ready for a floor that looks amazing and stands up to tough use.
What We Like:
- This coating is super strong, 20 times stronger than regular epoxy.
- It’s easy to apply because it levels itself out.
- You can walk on it in just 8-10 hours and park your car on it in 24 hours.
- It makes your floor look like fancy terrazzo with a shiny, high-gloss finish.
- It resists cracks, peels, and even spills like oil and hot tires.
- One coat gives you a showroom look that lasts.
- It has a low smell and low fumes, making it nicer to use.
- The kit covers a good amount of space, up to 500 square feet.
What Could Be Improved:
- The temperature needs to be just right for applying, between 40 and 90 degrees Fahrenheit.
- The 2.5 car kit might not be enough for very large garages.
This Rust-Oleum coating offers a fantastic way to upgrade your concrete floors. It’s a durable, attractive, and practical solution for many areas in your home.
3. Self Leveling Clear Epoxy Resin Coating with Full Mixing Tools

Rating: 9.1/10
Ready to give your floors a serious upgrade? This 3-gallon Self Leveling Clear Epoxy Resin Coating kit promises a stunning, seamless finish for your garage, basement, or warehouse. It’s designed for easy application and offers incredible durability, making it a smart choice for busy spaces.
What We Like:
- It creates a beautiful, high-gloss finish that really brightens up a room.
- The coating is super tough and resists wear, abrasion, and impacts.
- It’s safe for indoor use and has an environmentally friendly formula.
- Application is straightforward, even for DIYers, with clear instructions.
- The epoxy resists chemicals, oil spills, and stains, making cleaning simple.
- It also prevents moisture buildup by creating a seamless surface.
- The kit includes all the mixing tools you need.
What Could Be Improved:
- The coverage area (225-300 sq ft) might be a bit limited for very large spaces.
- While it dries quickly, you’ll still need to plan for the drying time before using the floor.
This epoxy kit is a fantastic way to get professional-looking, long-lasting floors with a surprisingly easy application. It’s a great investment for both homes and businesses.
4. Rust-Oleum 251965 EPOXYSHIELD Garage Floor Coating Kit

Rating: 8.8/10
Tired of a dull, stained garage floor? The Rust-Oleum 251965 EPOXYSHIELD Garage Floor Coating Kit in Gloss Gray can transform your concrete space. This tough, two-part epoxy formula is made for indoor concrete, like your garage, workshop, or basement. It gives you a shiny, professional look that’s super easy to clean. This coating is a whopping 5 times stronger than regular one-part epoxy paint, so it lasts a long time.
What We Like:
- Super durable and long-lasting protection for your concrete floors.
- Gives your garage a professional, glossy, showroom-quality shine that’s easy to clean.
- Resists damage from hot tires, gas, oil, antifreeze, and salt.
- Safe to walk on in just 24 hours and drive on after 3 days.
- Low odor and low VOC, making it more comfortable and safer to use indoors.
- Cleans up easily with just soap and water.
What Could Be Improved:
- This product is only recommended for indoor use, so it won’t work for outdoor patios or driveways.
- The 3-day waiting period before driving on it might be inconvenient for some.
This kit offers fantastic value by making your garage floor look amazing and protecting it for years to come. It’s a smart investment for anyone wanting a cleaner, more attractive, and more resilient concrete surface.
5. Epoxy Shoes

Rating: 9.5/10
Tackle your epoxy flooring projects with confidence using these specially designed spike shoes. They are your secret weapon for achieving a smooth, professional finish on self-leveling floors, epoxy coatings, and overlays. These shoes help you walk on wet epoxy without leaving footprints, keeping your hard work looking perfect.
What We Like:
- These spike shoes are essential for applying self-leveling and epoxy flooring. They prevent tracks and keep your design looking neat.
- They are easy to put on and take off. The snap-lock buckle belts make fastening secure.
- The shoes feature 13 sharp, 1-inch spikes per shoe. These spikes are specially placed for good coverage.
- Anti-slip nuts firmly hold the short nails in place. This ensures they won’t loosen or fall off, making your work safer.
- They have a universal size that fits most feet. Adjustable straps let you use them over your regular shoes, sneakers, or work boots.
- The 3/4″ spikes are the perfect length for epoxy floor installations and other similar jobs.
What Could Be Improved:
- The shoes are not suitable for shoe sizes larger than a US men’s 12.
These spike shoes are a must-have tool for anyone installing epoxy floors. They offer a practical solution for a smooth, professional finish.
Your Guide to Awesome Epoxy Floors
Ready to give your garage, basement, or even your patio a serious upgrade? An epoxy floor kit can transform a drab, stained surface into a sleek, durable, and easy-to-clean masterpiece. But with so many options out there, how do you pick the right one? This guide will help you choose the perfect epoxy floor kit for your project.
What to Look For: Key Features of a Great Epoxy Floor Kit
When you’re shopping, keep these important features in mind. They will make a big difference in how your floor looks and lasts.
1. Type of Epoxy
- 100% Solids Epoxy: This is the gold standard. It contains very little to no water or solvents. This means it’s super strong, thick, and lasts a long time. It’s the best choice for high-traffic areas like garages.
- Water-Based Epoxy: These are easier to use and clean up. They are good for lighter use areas like basements or workshops where heavy vehicles won’t be parked. They are not as thick or durable as 100% solids.
- Solvent-Based Epoxy: These are strong but have strong fumes. You need good ventilation when using them. They offer good protection but are less common for DIY kits.
2. Coverage Area
Make sure the kit you buy covers the square footage of your floor. Kits usually say how many square feet they cover. It’s better to have a little extra than not enough.
3. Included Materials
A good kit comes with everything you need. This usually includes:
- The epoxy resin and hardener.
- Decorative flakes or chips (optional, but they look great!).
- A clear topcoat for extra protection.
- Sometimes, a concrete etching solution.
4. Durability and Strength
Look for kits that promise resistance to stains, chemicals, and abrasion. This is especially important if you plan to park cars or use heavy machinery on the floor.
5. Ease of Application
Some kits are designed for beginners. They might have longer working times or clearer instructions. Read reviews to see what other users say about how easy it was to apply.
Important Materials in Your Kit
The main ingredients in an epoxy floor kit are the resin and the hardener. When you mix these two parts, a chemical reaction happens. This reaction makes the liquid epoxy harden into a strong, solid coating.
Decorative flakes are often added for looks and to hide minor imperfections. A topcoat seals everything in and adds extra shine and protection.
What Makes an Epoxy Floor Kit Better (or Worse)?
Several things affect the quality of your epoxy floor.
Factors That Improve Quality:
- High-Quality Ingredients: Kits made with better resins and hardeners will be stronger and last longer.
- Proper Surface Preparation: This is HUGE! Your concrete floor must be clean, dry, and etched (roughened up) for the epoxy to stick well.
- Following Instructions: Mixing the right amounts and applying the epoxy correctly is key.
- Good Ventilation: This helps the epoxy cure properly and keeps you safe.
Factors That Reduce Quality:
- Applying Over a Dirty or Wet Surface: The epoxy won’t stick properly.
- Incorrect Mixing Ratios: This can lead to the epoxy not hardening correctly or being weak.
- Applying in Extreme Temperatures: Too hot or too cold can affect how the epoxy cures.
- Using Cheap, Low-Quality Kits: These might not be as durable or may peel over time.
User Experience and Use Cases
People use epoxy floor kits for many reasons.
Common Use Cases:
- Garages: Protects concrete from oil, gas, and tire marks. Makes cleaning easy.
- Basements: Creates a clean, dry, and attractive living or storage space.
- Workshops: Provides a durable surface that resists stains and is easy to sweep.
- Patios and Pool Decks: Some kits are made for outdoor use, offering a slip-resistant and attractive surface.
Most users find that with good preparation and careful application, epoxy floors are a fantastic investment. They transform plain concrete into something beautiful and functional. Just remember that patience and following the steps are your best friends for a great result!
Frequently Asked Questions about Epoxy Floor Kits
Q: How long does an epoxy floor last?
A: A well-applied epoxy floor can last anywhere from 10 to 20 years or even longer, especially if it’s a high-solids epoxy and you take care of it.
Q: Can I put epoxy over painted concrete?
A: Generally, no. Paint can peel and the epoxy won’t stick well. You usually need to remove the old paint first.
Q: Is epoxy flooring slippery when wet?
A: It can be. Many kits offer anti-slip additives that you can mix in or sprinkle on top to make it safer.
Q: How much prep work is involved?
A: A lot! You need to clean the floor thoroughly, repair any cracks, and often etch the concrete so the epoxy can grip it.
Q: Can I drive on the floor right after applying it?
A: No. You need to let the epoxy cure for several days. Light foot traffic is usually okay after 24-48 hours, but check your kit’s instructions.
Q: What if I make a mistake during application?
A: Work quickly! Once mixed, epoxy starts to harden. If you notice a mistake early, you might be able to fix it. But once it starts to set, it’s hard to correct.
Q: Do I need special tools?
A: Yes. You’ll likely need a paint roller with a solvent-resistant cover, a squeegee, a mixing bucket, and possibly a drill with a mixing attachment.
Q: Can I use epoxy in a bathroom?
A: While possible, epoxy is usually better for garages and basements. Bathrooms have a lot of moisture, and it might be more prone to issues over time compared to other flooring options.
Q: How do I clean an epoxy floor?
A: Cleaning is easy! You can sweep it, vacuum it, or mop it with mild soap and water. Avoid harsh chemicals or abrasive cleaners.
Q: Can I apply epoxy in cold weather?
A: It’s best to apply epoxy when the temperature is between 60-80°F (15-27°C). Cold temperatures can make it not cure properly, and it might be weak or sticky.
In conclusion, every product has unique features and benefits. We hope this review helps you decide if it meets your needs. An informed choice ensures the best experience.
If you have any questions or feedback, please share them in the comments. Your input helps everyone. Thank you for reading.
Hello, I’m Muzammil Siddiqui, the mind behind ChairsFly.com.. With a deep passion for chairs and a wealth of expertise, I created this platform to share my insights, experiences, and knowledge about everything chair-related. From ergonomic solutions to stylish designs, my goal is to guide you in finding the perfect seat for your needs. Let’s embark on this journey of comfort and elegance together!