Want to give a vintage chair a new life? Reupholstering a vintage chair is definitely something you can do! This guide shows you how to tackle vintage chair restoration, including removing the old fabric, repairing the frame, replacing webbing, and selecting new fabric. You’ll learn the tools and supplies needed for DIY chair reupholstery and understand how to add new padding and cushioning. This chair upholstery tutorial will guide you through the entire process of reupholstering an antique chair.
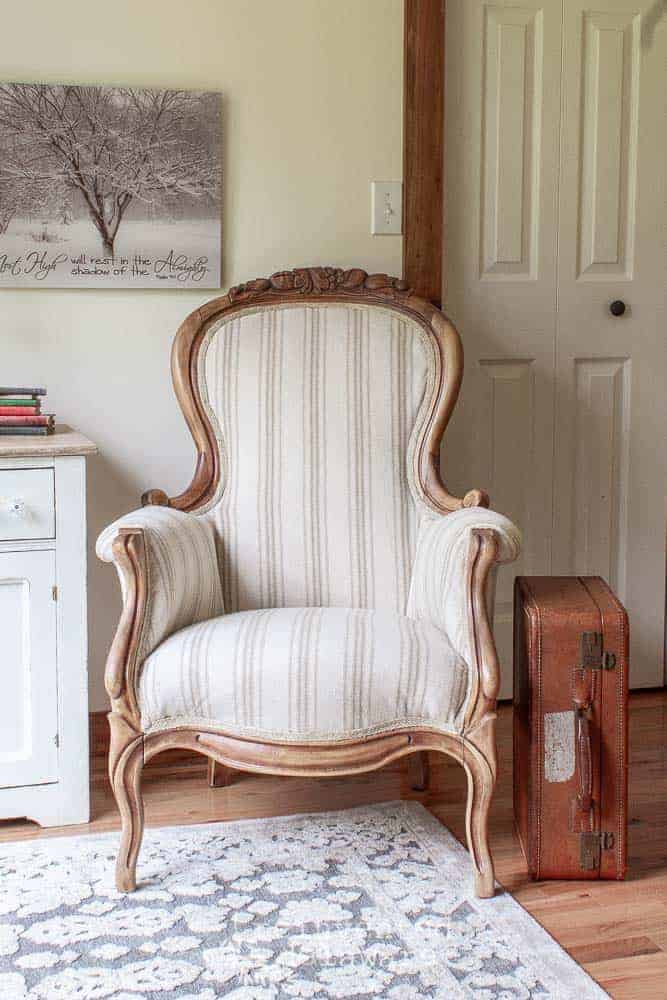
Image Source: www.reinventeddelaware.com
Assessing Your Chair: Is It Worth Reupholstering?
Before diving in, take a good look at your vintage chair. Is it structurally sound? Reupholstering takes time and effort, so make sure the chair is worth saving.
Check the Frame
- Wobbly Legs: Can you tighten loose joints, or do they need to be rebuilt?
- Cracks or Breaks: Small cracks can be fixed, but extensive damage might make the project too difficult.
- Wood Condition: Is the wood dry-rotted or infested with pests?
Examine the Existing Upholstery
- Fabric Condition: Is the fabric torn, stained, or faded beyond repair? This is a sign that reupholstering will improve the chair.
- Padding: Is the padding flat, lumpy, or crumbling? This is normal for older chairs.
- Webbing or Springs: Are they sagging, broken, or missing?
If the frame is in good condition and you love the style of the chair, reupholstering is likely a good choice!
Gathering Your Reupholstery Tools and Supplies
Having the right tools makes the job much easier. Here’s a list of essential items:
| Tool/Supply | Description | Why You Need It |
|---|---|---|
| Staple Remover | Designed to lift staples without damaging the frame. | To carefully remove the old fabric. |
| Flathead Screwdriver | Useful for prying off tacks and staples. | Helps in removing old upholstery. |
| Pliers | For gripping and pulling out stubborn staples or tacks. | Essential for removing fasteners. |
| Rubber Mallet | For gently tapping wood pieces together. | Helpful when repairing the chair frame. |
| Upholstery Stapler | A heavy-duty stapler designed for upholstery work. | To securely attach new fabric. |
| Staples | Choose staples appropriate for your stapler and the thickness of the wood. | To hold the fabric in place. |
| Sewing Machine | For sewing fabric seams, welting, or other decorative elements. | Makes the finished product look professional. |
| Fabric Scissors | Sharp scissors for cutting fabric cleanly. | For accurate fabric cutting. |
| Measuring Tape | For accurate measurements of fabric and chair components. | Ensures a proper fit. |
| Marker or Pencil | For marking fabric and wood. | For precise cutting and alignment. |
| Camera or Phone | To take photos of each step for reference. | Very helpful when putting everything back together. |
| Safety Glasses | To protect your eyes from flying staples and debris. | Safety first! |
| Work Gloves | To protect your hands. | Prevents scrapes and blisters. |
| New Upholstery Fabric | Choose a durable and attractive fabric. | The most important part! |
| New Webbing | If your chair has webbing, you may need to replace it. | Provides support for the seat. |
| Webbing Stretcher | A tool to tightly stretch the webbing. | To make sure the webbing is tight. |
| Tacks or Staples for Webbing | To secure the webbing to the frame. | To hold the webbing in place. |
| Foam or Padding | To replace old or worn-out cushioning. | Adds comfort and shape to the chair. |
| Batting | A layer of soft material placed over the padding to smooth the surface. | Creates a smooth, professional finish. |
| Dust Cover Fabric | A lightweight fabric to cover the bottom of the chair. | Provides a clean, finished look. |
| Tack Strips | (Optional) Used to create clean, tight edges. | Helps to achieve a professional look. |
| Wood Glue | For repairing loose joints in the frame. | Strengthens the chair. |
| Wood Clamps | To hold glued pieces together while they dry. | Ensures a strong bond. |
| Sandpaper | For smoothing rough edges on the frame. | Prepares the frame for finishing. |
| Wood Finish | (Optional) Stain, paint, or varnish to refinish the frame. | Enhances the appearance of the frame. |
Step-by-Step Reupholstery Process
Now, let’s get started!
Step 1: Removing the Old Upholstery
This is the most time-consuming part. Take your time and be careful not to damage the frame.
- Document Everything: Take photos of each layer of fabric and how it’s attached. This will be your guide when putting the new fabric on.
- Remove Staples and Tacks: Use the staple remover, flathead screwdriver, and pliers to remove all staples, tacks, and nails. Work slowly to avoid tearing the old fabric.
- Carefully Remove Fabric: Pull the fabric away from the frame, noting how it was attached (e.g., folded over, stapled, or glued).
- Save the Old Fabric: Keep the old fabric pieces. These will be your patterns for cutting the new fabric.
- Remove Padding and Webbing: Remove the old padding, batting, and webbing. Note how they were layered and attached.
Step 2: Repairing the Chair Frame
Now is the time to address any structural issues.
- Clean the Frame: Wipe down the frame with a damp cloth to remove dust and dirt.
- Tighten Joints: If any joints are loose, apply wood glue and clamp them together until the glue dries completely.
- Repair Cracks: Fill small cracks with wood filler and sand smooth when dry.
- Sand the Frame: If you plan to refinish the frame, sand it down to remove the old finish.
- Refinish the Frame (Optional): Apply stain, paint, or varnish to protect and enhance the frame. Let it dry completely.
Step 3: Replacing the Webbing or Springs
The webbing provides support for the seat. If it’s sagging or broken, replace it.
- Measure and Cut Webbing: Measure the width of the chair frame and cut the webbing strips to the correct length, allowing extra inches for wrapping around the frame.
- Attach the First Strip: Use a webbing stretcher to pull the first strip of webbing tightly across the frame. Staple or tack it securely to the frame.
- Weave the Webbing: Weave the remaining strips of webbing over and under the first strip, creating a woven pattern. Keep the webbing tight as you go.
- Secure the Ends: Staple or tack the ends of each strip securely to the frame.
- For Springs: If your chair has springs, inspect them for damage. Replace any broken springs. Secure the springs to the webbing with twine.
Step 4: Adding New Padding and Cushioning
New padding will make your chair comfortable again.
- Cut New Padding: Use the old padding as a pattern to cut new foam or padding to the correct size and shape.
- Layer the Padding: Place the new padding on top of the webbing or springs. Add layers of batting to create a smooth, even surface.
- Attach the Batting: Use spray adhesive or staples to attach the batting to the padding.
Step 5: Cutting and Sewing the New Fabric
Now comes the exciting part: giving your chair a new look!
- Prepare the Fabric: Iron the new fabric to remove any wrinkles.
- Use Old Fabric as Patterns: Lay the old fabric pieces on top of the new fabric and trace around them. Add extra inches for seam allowances.
- Cut the Fabric: Cut out the new fabric pieces using sharp fabric scissors.
- Sew Seams: Sew the fabric pieces together using a sewing machine. Follow the original seams of the old fabric.
- Add Welting (Optional): Welting is a decorative trim that adds a professional touch. Sew welting around the edges of the fabric pieces.
Step 6: Attaching the New Fabric
This step requires patience and attention to detail.
- Start with the Back: Place the fabric for the back of the chair over the frame, aligning it carefully.
- Staple the Fabric: Pull the fabric taut and staple it to the frame, starting in the center and working your way outwards. Use plenty of staples to ensure a secure hold.
- Work Your Way Around: Repeat this process for the other fabric pieces, such as the seat, arms, and sides.
- Create Smooth Edges: Fold the edges of the fabric under to create a clean, finished edge. Staple the folded edges to the frame.
- Use Tack Strips (Optional): Tack strips can help create clean, tight edges, especially around curves.
Step 7: Adding the Finishing Touches
Almost there!
- Trim Excess Fabric: Trim away any excess fabric from the edges.
- Attach the Dust Cover: Cut a piece of dust cover fabric to fit the bottom of the chair. Staple it to the frame to conceal the webbing and padding.
- Inspect Your Work: Check for any loose staples or uneven fabric. Make any necessary adjustments.
- Clean Up: Remove any stray staples, threads, or debris.
Choosing the Right Fabric for Reupholstery
Selecting the right fabric is crucial for both the look and durability of your reupholstered chair. Here’s what to consider:
- Durability: Choose a fabric that can withstand wear and tear. Look for fabrics with a high rub count (a measure of abrasion resistance).
- Style: Select a fabric that complements the style of your chair and your home decor. Consider colors, patterns, and textures.
- Fiber Content: Natural fibers like cotton, linen, and wool are comfortable and breathable but may be less durable than synthetic fibers. Synthetic fibers like polyester and acrylic are more durable and stain-resistant.
- Cleaning: Choose a fabric that is easy to clean. Consider stain-resistant fabrics if you have children or pets.
- Cost: Fabric prices vary widely. Set a budget before you start shopping.
Here are some popular fabric choices for reupholstery:
| Fabric Type | Pros | Cons |
|---|---|---|
| Cotton | Comfortable, breathable, relatively inexpensive. | Can stain easily, may fade in sunlight. |
| Linen | Natural, durable, beautiful texture. | Wrinkles easily, can be expensive. |
| Wool | Durable, stain-resistant, naturally fire-retardant. | Can be expensive, may shrink if not cleaned properly. |
| Polyester | Durable, stain-resistant, easy to clean, relatively inexpensive. | Not as breathable as natural fibers, can feel less luxurious. |
| Acrylic | Durable, stain-resistant, fade-resistant, easy to clean. | Not as breathable as natural fibers, can pill. |
| Velvet | Luxurious, soft, adds a touch of elegance. | Can be expensive, shows wear easily, requires special cleaning. |
| Leather | Durable, luxurious, ages well. | Can be expensive, requires special care. |
| Faux Leather | More affordable alternative to leather, durable, easy to clean. | Not as breathable as leather, may not last as long. |
| * Microfiber | Affordable, easy to clean, durable | Can have an unnatural feel, susceptible to static cling |
Safety Tips
- Always wear safety glasses and work gloves to protect yourself.
- Use a staple remover to avoid damaging the frame when removing old staples.
- Be careful when using sharp tools.
- Work in a well-ventilated area, especially when using spray adhesives or finishes.
- If you’re not comfortable with any part of the process, seek help from a professional.
Frequently Asked Questions (FAQ)
What is the hardest part of reupholstering a chair?
Removing the old upholstery is often the most challenging and time-consuming part. Dealing with stubborn staples and preserving the original fabric for patterns requires patience.
Can I reupholster a chair without sewing?
Yes, you can. While sewing creates a more polished look, you can use techniques like folding and stapling to achieve a presentable result without sewing. This is common for simpler chair designs.
Who is best suited to reupholster a chair?
Anyone with basic DIY skills, patience, and attention to detail can reupholster a chair. If you’re comfortable using tools like staple guns and screwdrivers and are willing to learn, you can definitely do it.
How much does it cost to reupholster a chair myself?
The cost varies depending on the fabric, padding, and supplies you choose. Expect to spend anywhere from $50 to $200 for materials.
How long does it take to reupholster a chair?
The time required depends on the complexity of the chair and your skill level. A simple chair might take a weekend, while a more complex project could take several days.
What kind of staples should I use for upholstery?
Use staples specifically designed for upholstery. The size will depend on the thickness of the fabric and the type of wood. Consult your upholstery stapler’s manual for recommendations.
Reupholstering a vintage chair is a rewarding project that allows you to breathe new life into a beloved piece of furniture. With patience, the right tools, and this guide, you can transform your old chair into a stylish and comfortable addition to your home. Good luck with your vintage chair restoration!
Hello, I’m Muzammil Siddiqui, the mind behind ChairsFly.com.. With a deep passion for chairs and a wealth of expertise, I created this platform to share my insights, experiences, and knowledge about everything chair-related. From ergonomic solutions to stylish designs, my goal is to guide you in finding the perfect seat for your needs. Let’s embark on this journey of comfort and elegance together!